
How to install your SELECT Hinge
SELECT Hinges are renowned for letting you install them once and then not giving them another thought for decades. That's why SELECT makes sure installing each hinge is fast and easy.
Choose from downloadable instructions written for every SELECT hinge. All are available in English, some are also available in Spanish or French. Or download the free BILT app to your phone or tablet for specific hinge model instructions. Look for the 3D![]() next to the model number to watch clear, step-by-step interactive instructions. Once your SELECT hinge is installed, it will open and close your doors hassle-free for 25,000,000 cycles and counting!
next to the model number to watch clear, step-by-step interactive instructions. Once your SELECT hinge is installed, it will open and close your doors hassle-free for 25,000,000 cycles and counting!
Download the BILT App for 3-D Installation Instructions.


Geared Continuous Hinges
Hinge Type
Applicable Models
PDFS
Bilt Instructions
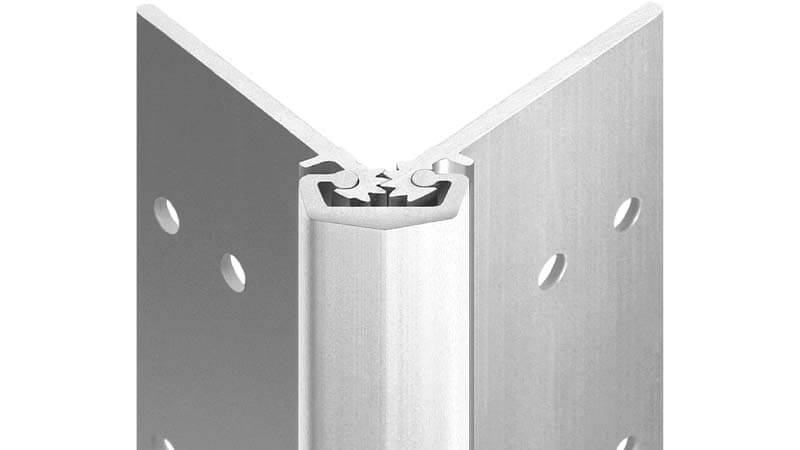
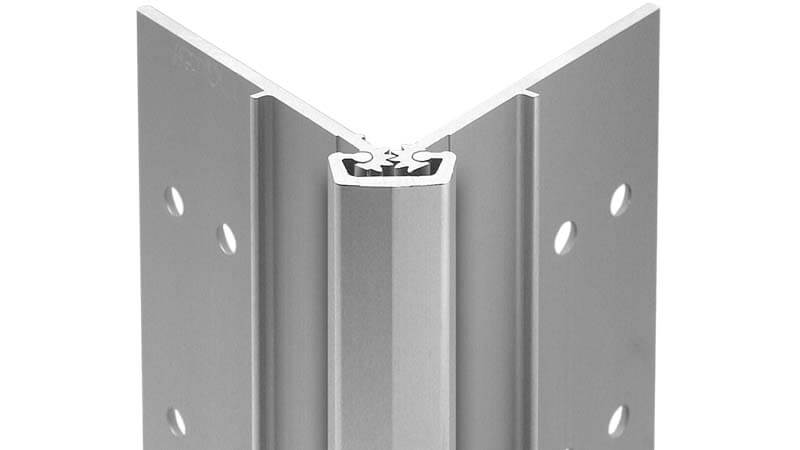
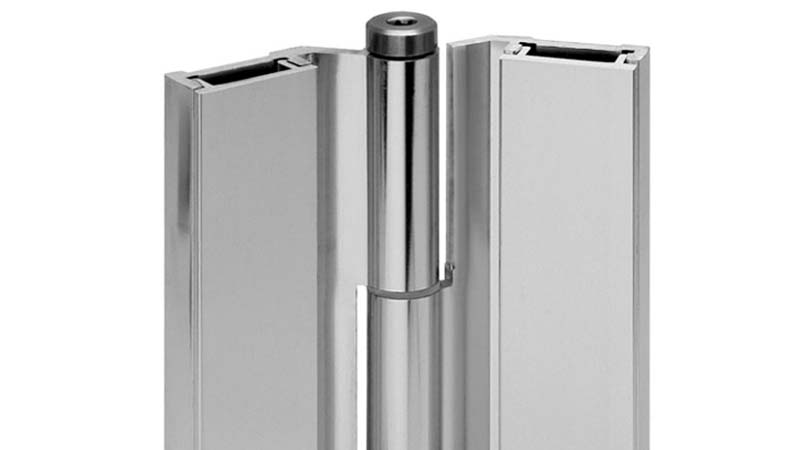
Concealed
SL11 | SL11 | SL12 | SL14 | SL18 | SL24 | SL26 | SL27 | SL31 | SL38 | SL44 | SL48 | SL84
PDF Language Options English Español
Bilt Instructions SL11 3D![]()


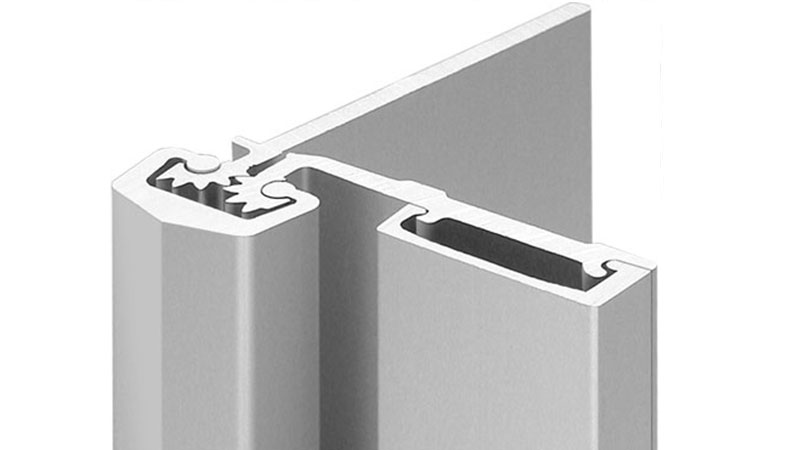
Full Surface (Full Mortise)
SL21 | SL57
PDF Language Options English Español Français
SL57 with TIPITLM
Bilt Instructions SL57 3D![]()
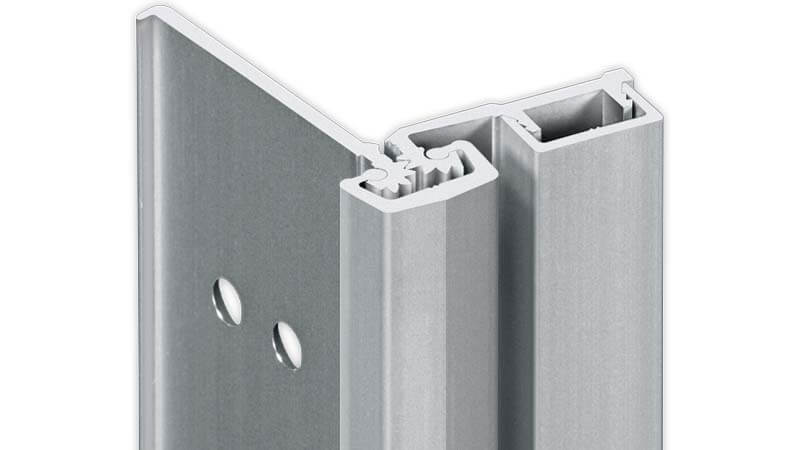

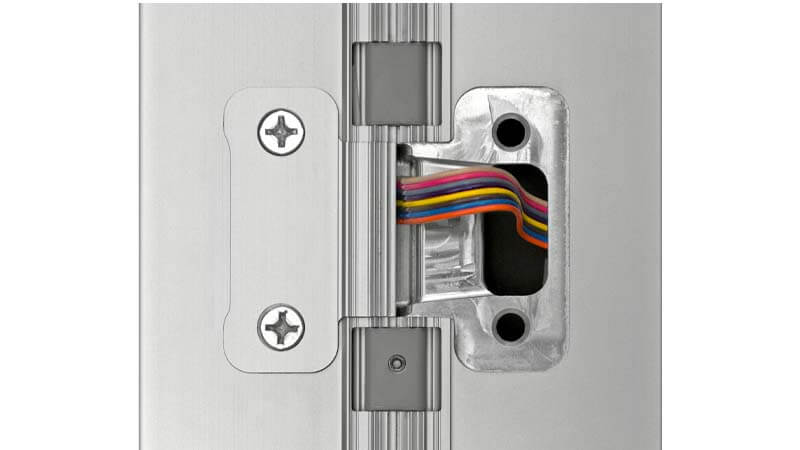
ATW (Accessible Through-Wire)
SL11 | SL14 | SL18 | SL24 | SL26 | SL27 | SL31| SL44 | SL48 | SL84
PDF Language Options English
Bilt Instructions SL24 3D![]()
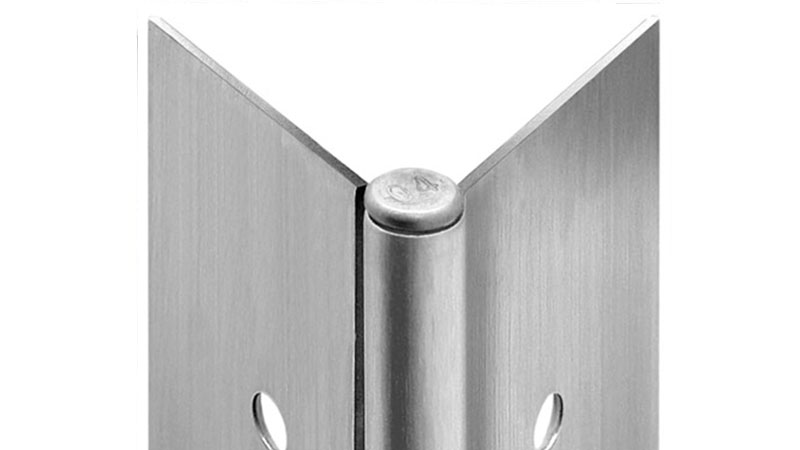
Pin & Barrel Hinges
Hinge Type
PDFs for Applicable Models
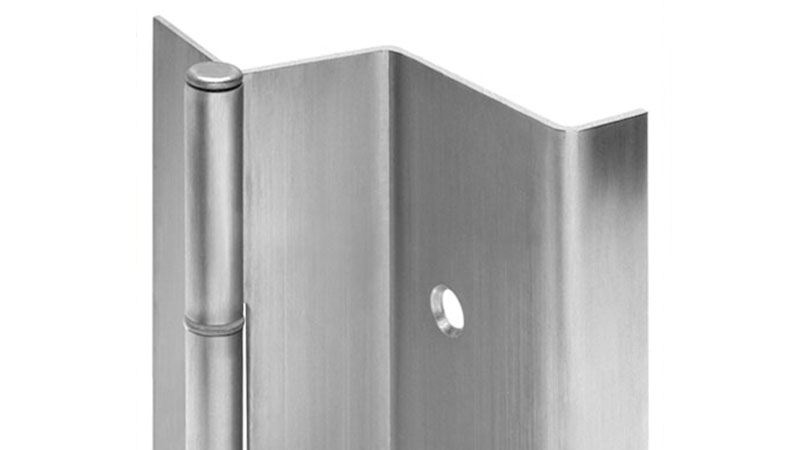
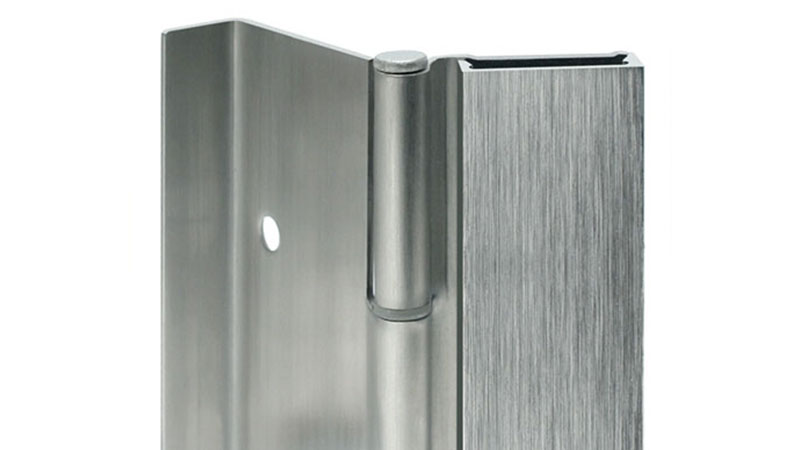
Half Surface
PDFs for Applicable Models SL303
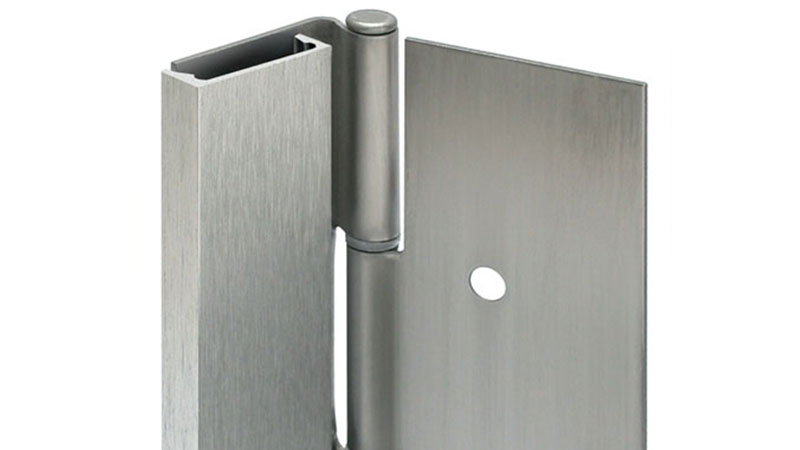
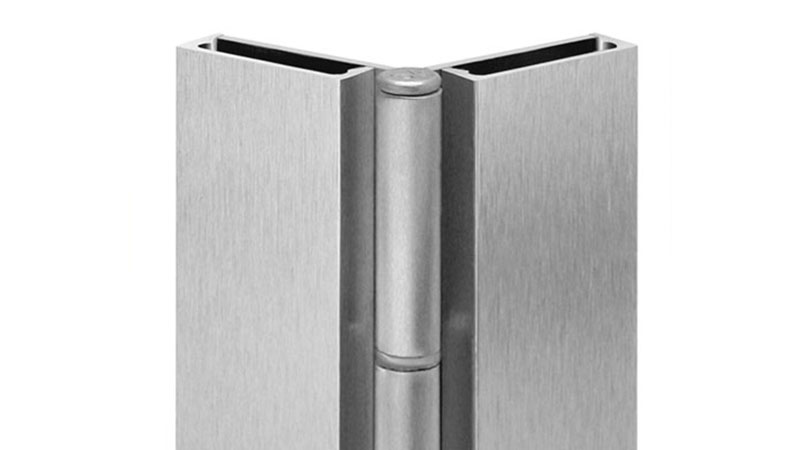
Half Mortise
PDFs for Applicable Models SL306
Other Products
Type
PDFs for Applicable Models

Latch Guard
PDFs for Applicable Models Latch Guard OutswingLatch Guard Inswing